A Guide To Installing Metal Roofing On A Shed
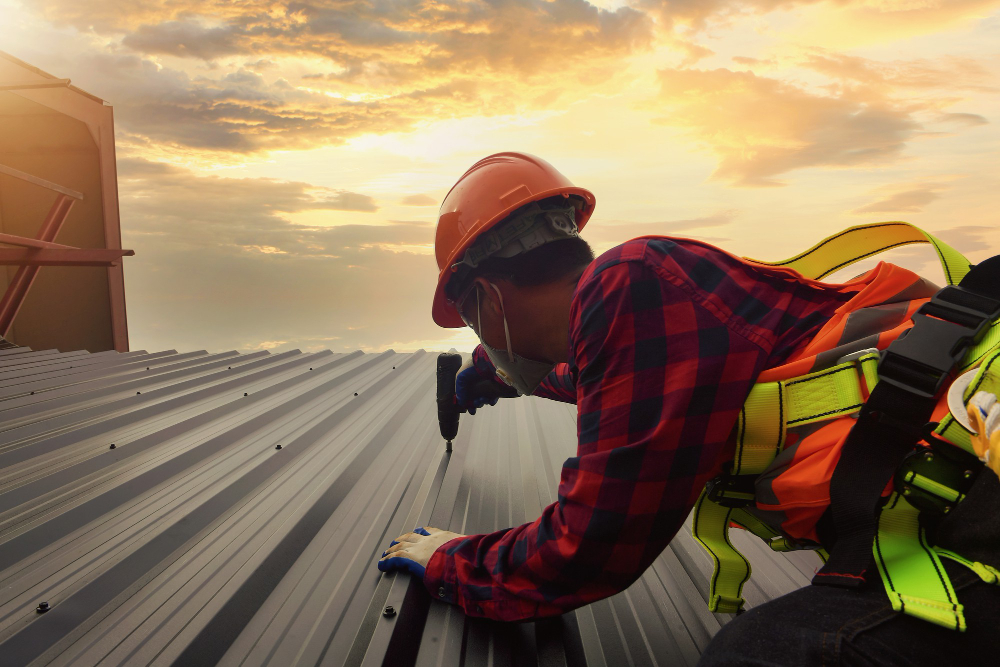
If you are you might think it is a complicated job. But with the right approach, it is a project that many homeowners can handle. Metal roofing lasts a long time, stands up to weather, and looks clean. For quality metal roofs that hold up over time, getting the installation steps right matters. Let us break it down into simple parts so you know what to expect.
Why Pick Metal for Your Shed
Sheds often get overlooked when it comes to good roofing. But a shed holds tools, lawn equipment, or maybe a small workshop. Keeping the inside dry matters. Metal does not soak up water like wood or shingles. It does not crack from sun exposure. And unlike some other materials, it does not give mold a place to grow. You put it up once and it stays up.
What You Will Need
Before you start, gather your supplies. Having everything on hand saves trips to the store.
Tools
- Power drill with adjustable speed
- Tin snips for cutting panels
- Tape measure and pencil
- Ladder tall enough to reach the peak safely
- Work gloves to protect your hands
Materials
- Metal panels cut to your roof length
- Wood screws with rubber washers
- Roll of waterproof underlayment
- Edge flashing for the sides and bottom
- Ridge cap for the top
- Foam closures to seal gaps
- Sealant tube for seams
Measure your roof before buying. Count how many panels you need based on how wide each one covers. Add one extra panel in case of mistakes. Measure the edges so you know how much trim to buy. Having quality metal roofing accessories from the start makes the whole job go more smoothly.
Getting the Roof Ready
A new roof needs a clean, solid surface to sit on. Start by taking off anything that is already up there. Work from the top down. Pull things off gently so you do not damage the wood underneath.
Once the old roof is off, look at the wood deck. Push on it with your foot in different spots. If any area feels soft or looks rotten, cut it out and put new plywood in its place. The wood should feel solid and flat. Any bumps or dips will show through the metal later.
Putting Down the First Layer
The underlayment goes on before the metal. This is a sticky, rubbery sheet that stops water from getting to the wood. Start at the bottom edge of the roof. Roll it out across the width, letting it hang over the edge by about half an inch. The next row goes above it, overlapping by at least six inches. Smooth it out as you go. Wrinkles can make the metal panels sit uneven.
Adding the Edge Trim
The trim pieces go on before the panels. They give the edges a finished look and keep water from sneaking under.
The bottom edge gets a piece called eave trim. Nail it down along the length of the roof. The side edges get rake trim. These pieces cover the ends of the panels. If you have corners where two trim pieces meet, put a dab of sealant in the joint.
Setting the First Panel
The first panel sets the direction for the whole roof. Take your time with this step. When you are installing metal roofing on a shed, getting this first panel straight is the most important part of the whole job.
Start at the bottom corner of the roof. Set the panel so it hangs over the edge by about an inch. That overhang lets water drip clear of the shed walls. Make sure the panel is square to the edge. If the first one is crooked, every panel after it will be off.
Put a few screws to hold it in place. Screw through the flat part of the panel, not the raised rib. The screw should go into the wood underneath. Do not crank it down too hard. The rubber washer should touch the metal but not squish out the sides.
Adding the Rest of the Panels
Each new panel overlaps the one before it. The overlap happens at the raised ribs. One panel has a rib that sits up high. The next panel has a rib that fits over it. This overlap is what keeps water from getting in between.
As you work across the roof, check that each panel stays straight. Measure from the edge of the panel to the edge of the roof at both ends. If the numbers match, you are on track.
Put screws along the bottom edge first, then work your way up. Space screws about two feet apart. Each screw goes through the flat part of the panel into the wood below. Keep your drill straight so screws go in at a right angle. Crooked screws do not seal well.
If a panel is too long at the peak, mark where to cut it. Use tin snips to trim it down. The edges will be sharp, so wear gloves.
Topping Off the Peak
Once all the panels are down, cover the top with ridge cap. This piece runs along the peak and covers the gap where panels meet.
Slide foam closures under the ridge cap at both ends. These fill the space between the metal and the cap. They keep bugs and water out. Screw the ridge cap down through the top of each rib. Overlap sections of ridge cap by several inches and seal the joint.
Checking Your Work
Walk around the roof and look at each screw. They should all be straight and snug. If any screw looks loose, give it a little turn. If any screw is over-tightened and has crushed the rubber washer, replace it.
Look at the edges where trim meets panels. Run a bead of sealant along any gaps. Pay attention to corners and places where two pieces come together. These spots are where leaks usually start if they are not sealed.
At Metal Master Shop, we see a lot of DIY projects come together well when people take their time with these final checks. Good materials only work if they are put in right.
What to Expect After
Once the roof is done, it does not ask for much. Once a year, look up there after a storm. See if any branches or leaves have piled up. Clear them off so water can flow freely. If you ever see a screw that has backed out over time, tighten it back down.
The first time it rains, go inside the shed and look up. Check for any drips or wet spots. If you see a leak, mark the spot from inside. Go back up and seal the area around the screw or seam that is letting water in.
A Few Things to Keep in Mind
Installing metal roofing on a shed is one of those projects where the prep work matters more than the fast work. A clean, solid roof deck gives you a good base. Square panels go on straight. Screws driven correctly stay tight for years.
If your shed has a flat roof or a very low slope, metal can still work. You just need to pay extra attention to sealing. Use more sealant at overlaps. Make sure the underlayment covers everything fully.
Some people wonder if metal roofs are loud in the rain. On a shed, it is not usually a big deal. If noise bothers you, putting solid sheathing under the metal helps. The wood absorbs some of the sound.
Wrapping Up
A shed with a metal roof stays dry inside. It does not need replacing every ten years like shingles might. And it adds a clean look to your yard. When you are installing metal roofing on a shed, following these steps helps you get a roof that stands up to sun, rain, and wind.
At Metal Master Shop, we believe that good information leads to good results. Whether you are working on a shed or a house, having the right materials makes the job go smoother. For help with water flow on your project, our box gutter fabrication services can handle the tricky parts.
Take your time, measure twice, and drive screws straight. That is the formula for a roof that lasts.