Tools and Roofing for the Novice
So you have decided to install that metal roofing. Good for you!
If you are in semi-good physical condition and you have enough construction know-how to read a tape measure, remember the three, four, five, square rule (explained later for the complete novice) and have hands that are able to grip a screw gun, the battle is half over.
Let’s also say your home has the normal run of the mill roof with a roof pitch that is somewhere between 3 inches of fall in 12 inches (3/12) and 6 inches of fall in 12 inches (6/12). These roofs are fairly easy to walk on and aren’t so steep that you can expect to slide off them. If you are a first timer, easy is probably an understatement. Is installing a metal roof something the average, semi-handy homeowner can accomplish. Without a doubt and it’s not that difficult.
Let’s talk about the physical condition part. You are not running a marathon here, it isn’t a race. You don’t need to be in tip-top physical condition. None of us are. You will be working for yourself and at your own pace so you can work as fast or slow as needed depending on the individual. You will of course be making several trips up and down a ladder and you will be walking and kneeling on an uneven surface. Get a good pair of kneepads and expect that you might be using a few body parts that aren’t used to it---not that you’re straining them, you’re just using them and they haven’t been used since…you can fill in that blank. You’re going to save some serious money so the occasional ache is worth it—those are temporary anyway. Plus you’ll have the satisfaction of knowing you did it yourself.
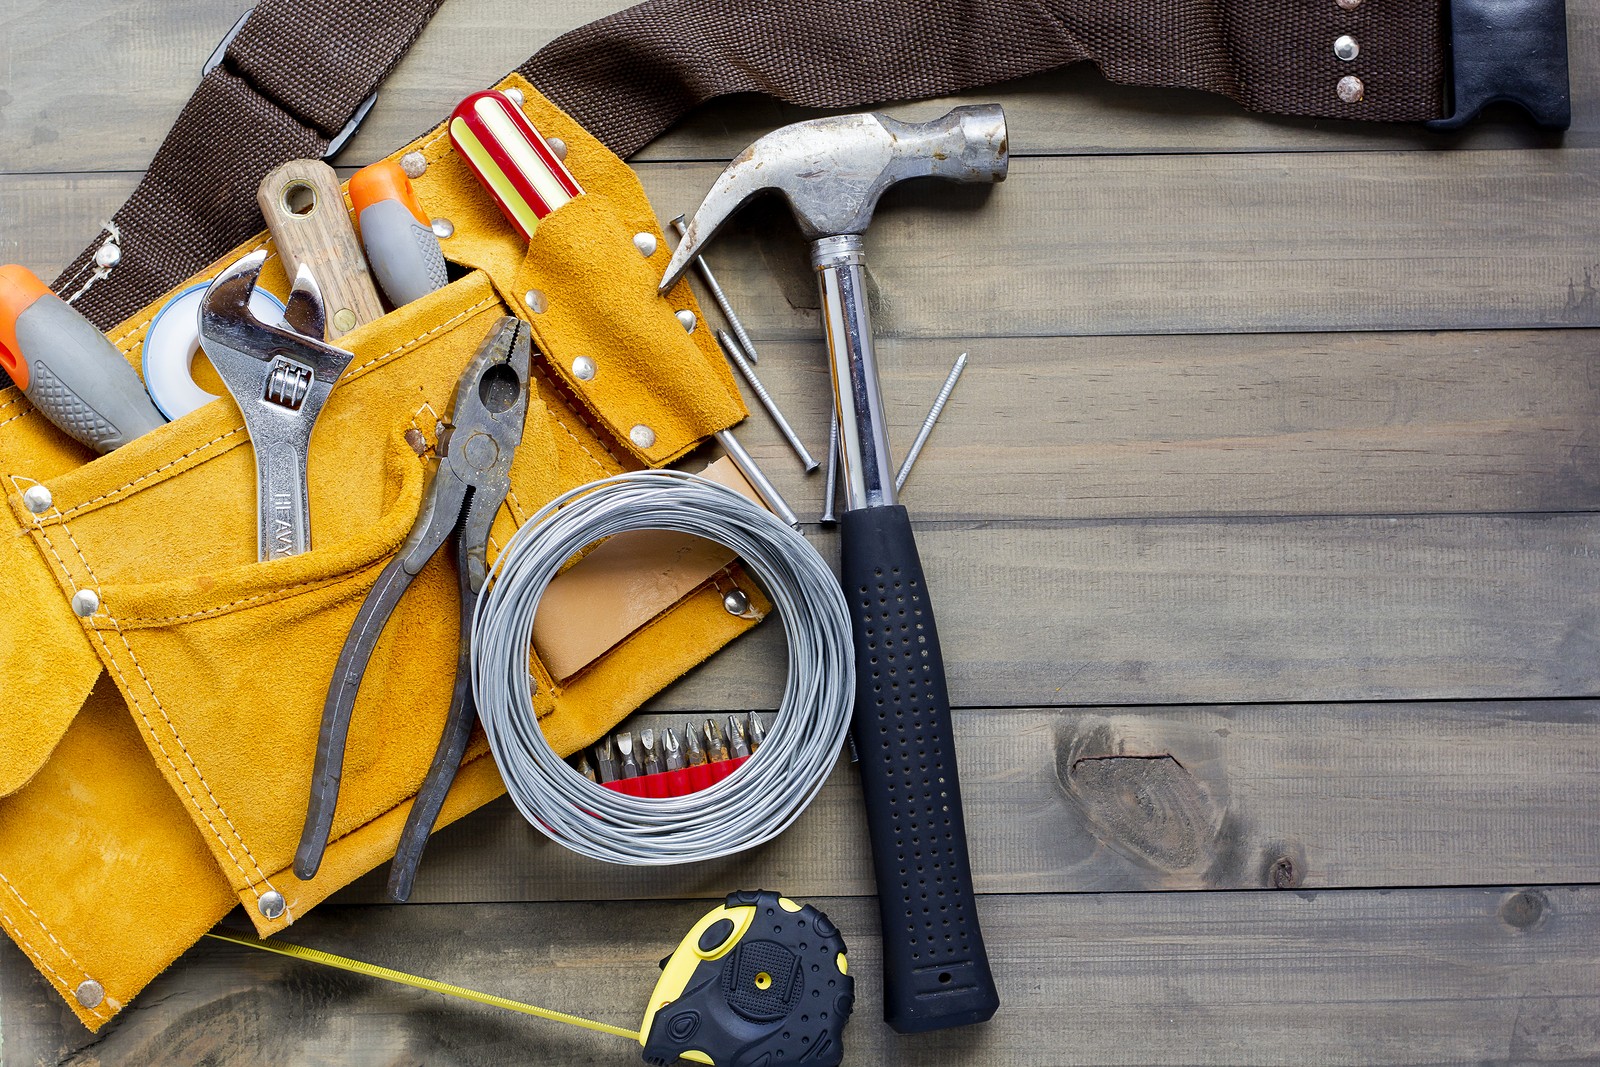
Okay, now let’s make sure you have enough of the basic tools to get the job done. A good pair of leather or heavy canvas gloves is a necessity; the edges of those metal panels are pretty sharp sometimes. As I mentioned earlier you’ll need a tape measure, depending on the size of the roof maybe two of them. A 25 footer and a 100 footer will be all that is needed for most roofs. You will need the basic hammer, utility knife, wonder bar or pry bar and some sort of straight edge. You will also need a couple of chalk lines, remember, red chalk is permanent; it works well on the underlayment or sheathing. Use blue chalk if you chalk a line on the finished panels, blue is temporary and can be swept or washed away. Metal or tin snips are next on the list. You could get by with the yellow handled or straight cut snips but it is nice to have the green (right cut) and the red (left cut) snips also.